Can 编程
在使用手册章节我们了解了YY3588 can 的简单使用,在此章节我们介绍使用can转usb 模块的收发使用。
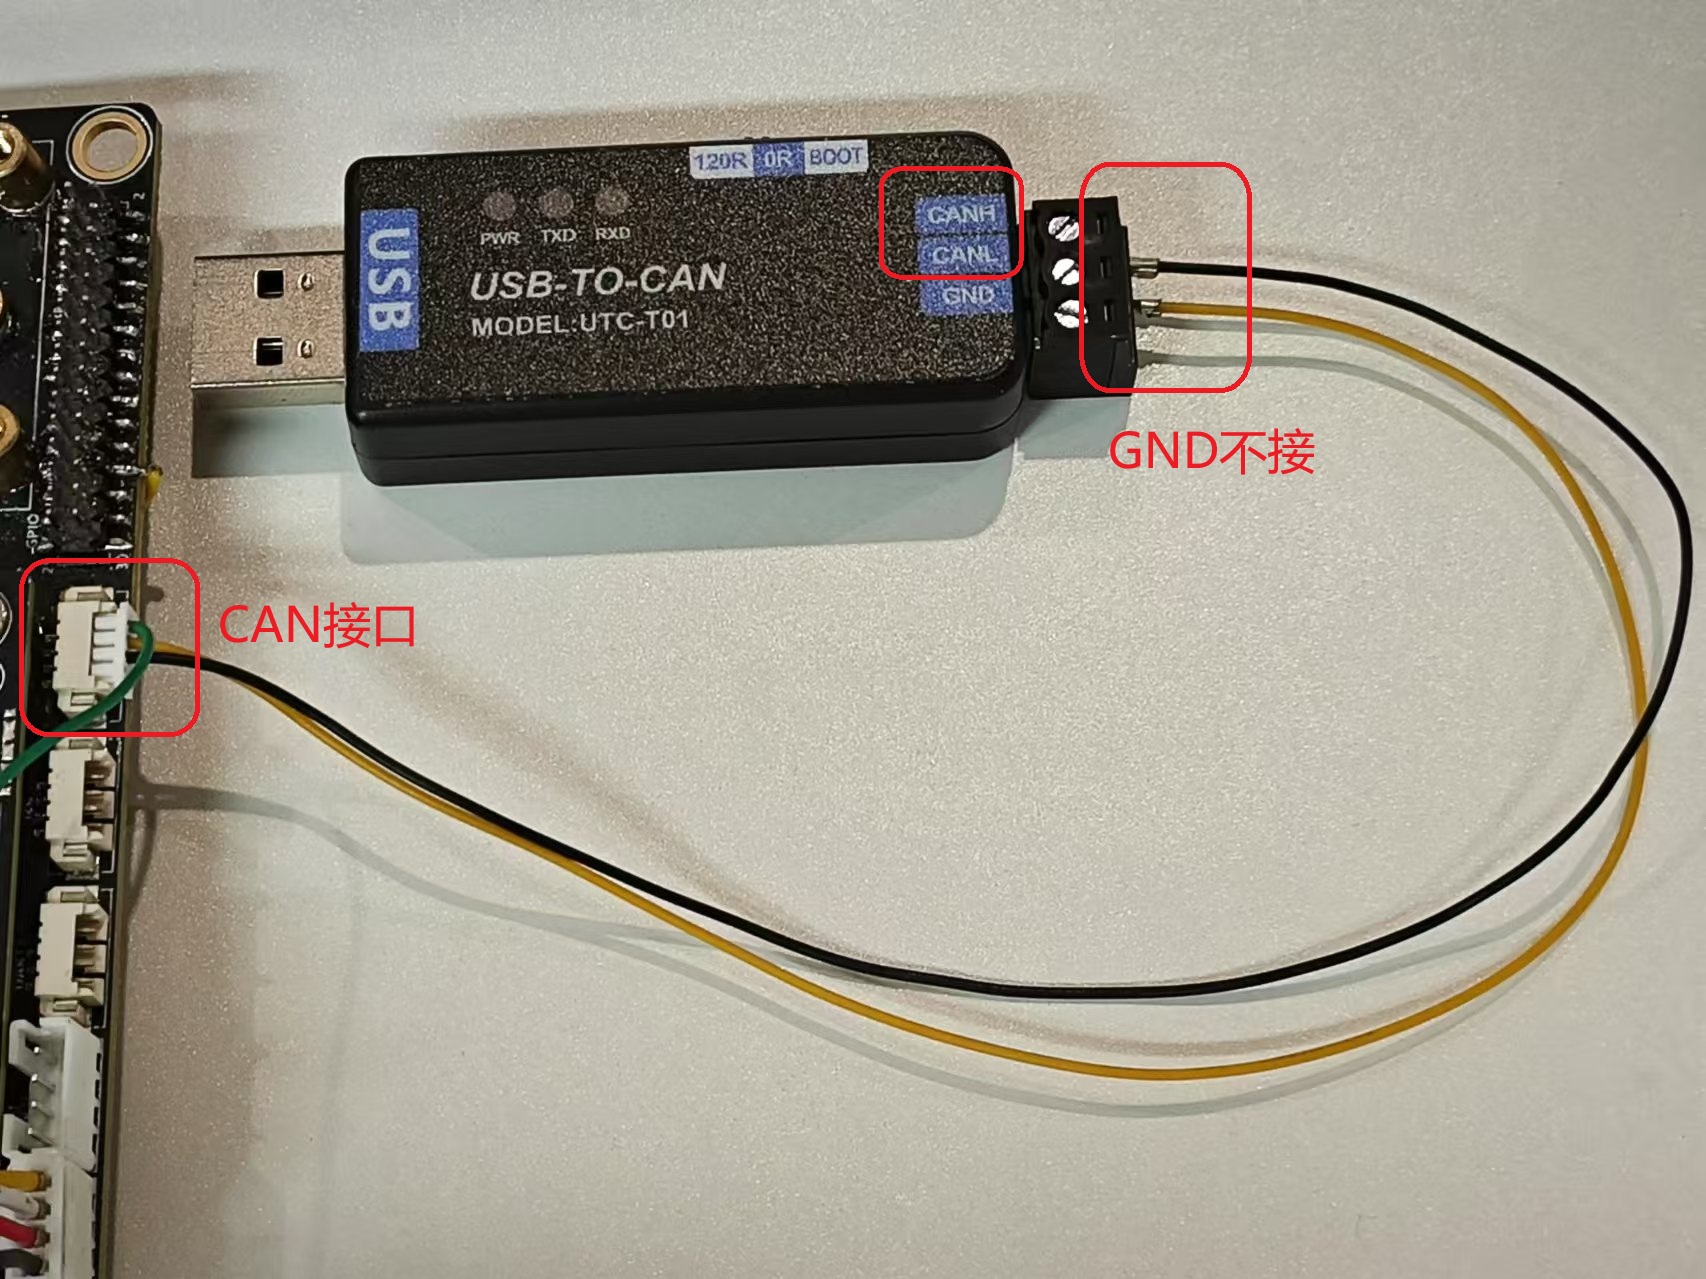
1 硬件连接
具体以读者使用的模块为准
- USB一端接在PC电脑端
2 收发
2.0 准备工作
- 查询当前网络设备
$ ifconfig -a
can0: flags=128<NOARP>  mtu 16
        unspec 00-00-00-00-00-00-00-00-00-00-00-00-00-00-00-00  txqueuelen 10  (UNSPEC)
        RX packets 0  bytes 0 (0.0 B)
        RX errors 0  dropped 0  overruns 0  frame 0
        TX packets 0  bytes 0 (0.0 B)
        TX errors 0  dropped 0 overruns 0  carrier 0  collisions 0
        device interrupt 71

......
- CAN启动:
# 关闭CAN:
$ ip link set can0 down
# 设置比特率500KHz:
$ ip link set can0 type can bitrate 500000
# 打印can0信息:
$ ip -details -statistics link show can0
# 启动CAN:
$ ip link set can0 up
2.1 YY3588 接收数据
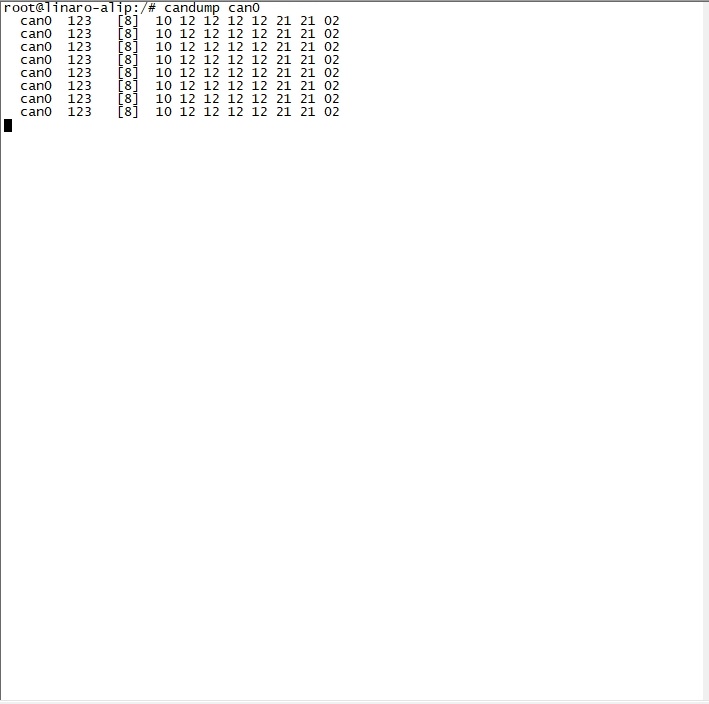
- 板端接收
$ candump can0
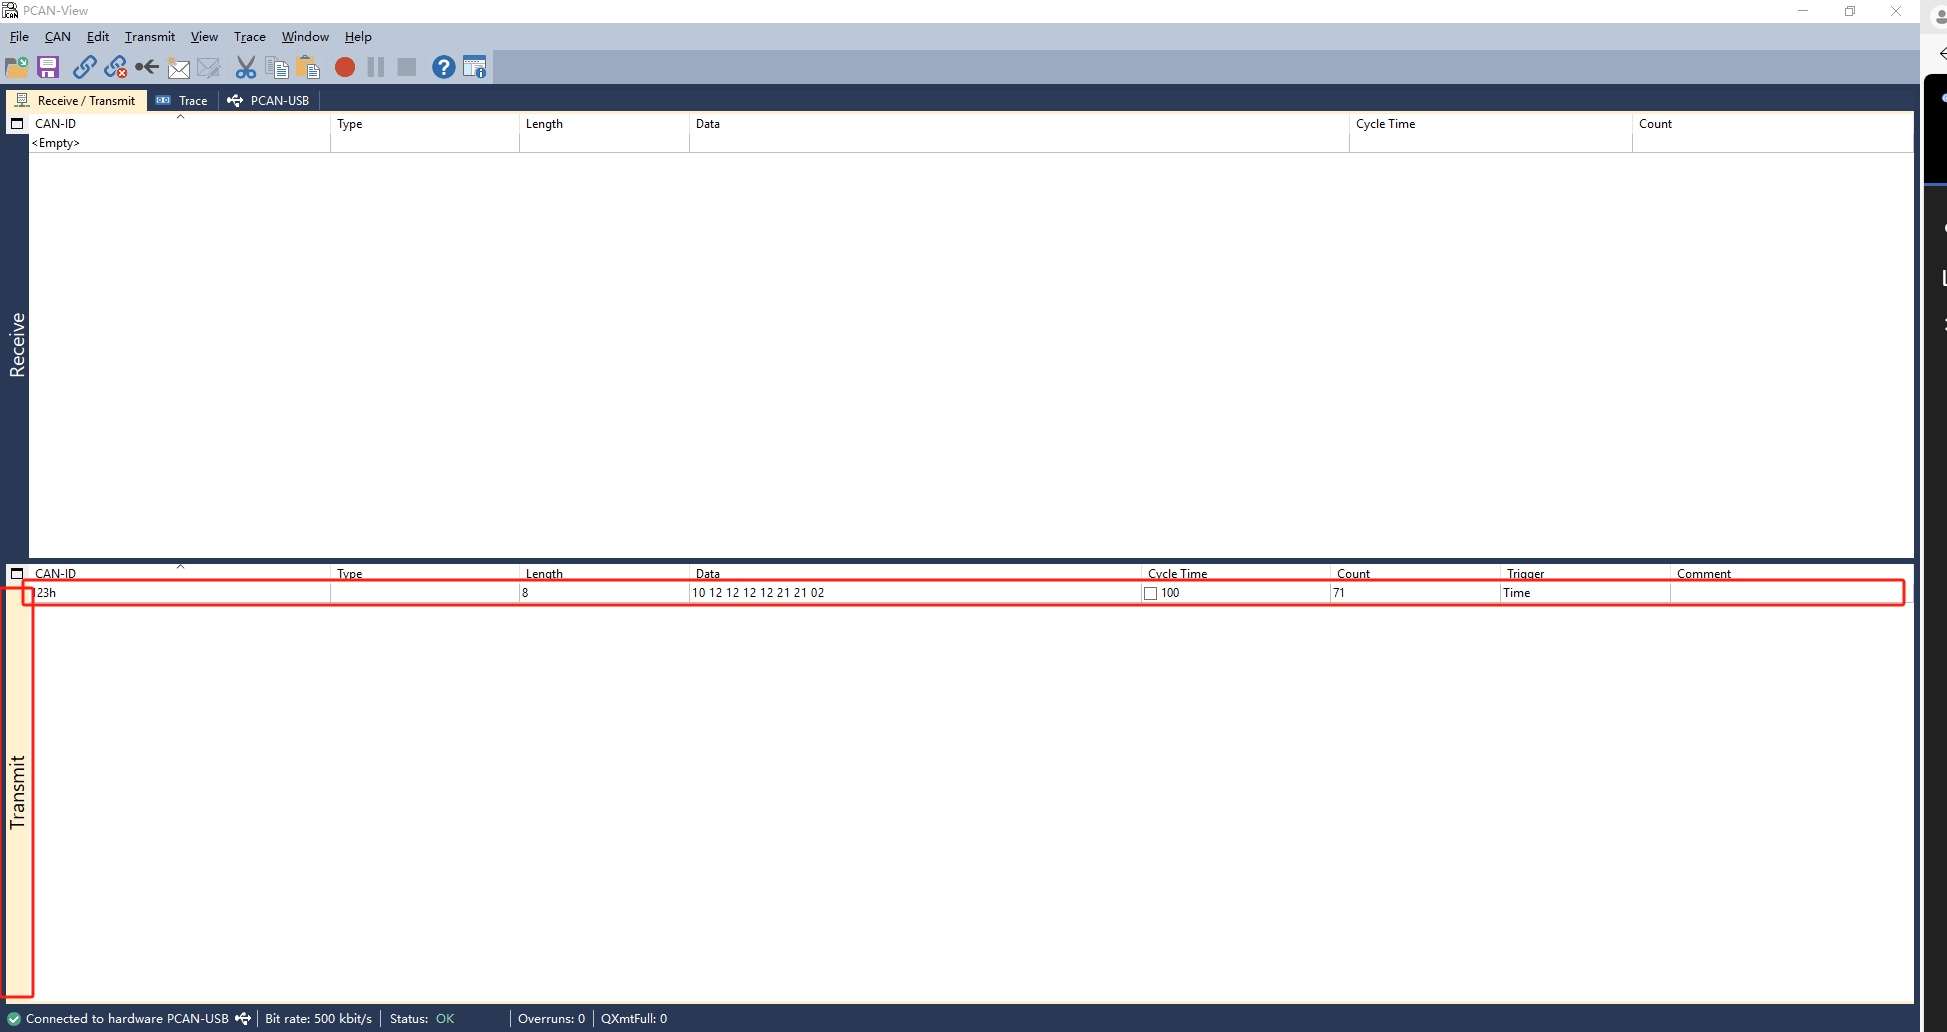
2. PC端发送
2.2 YY3588 发送数据
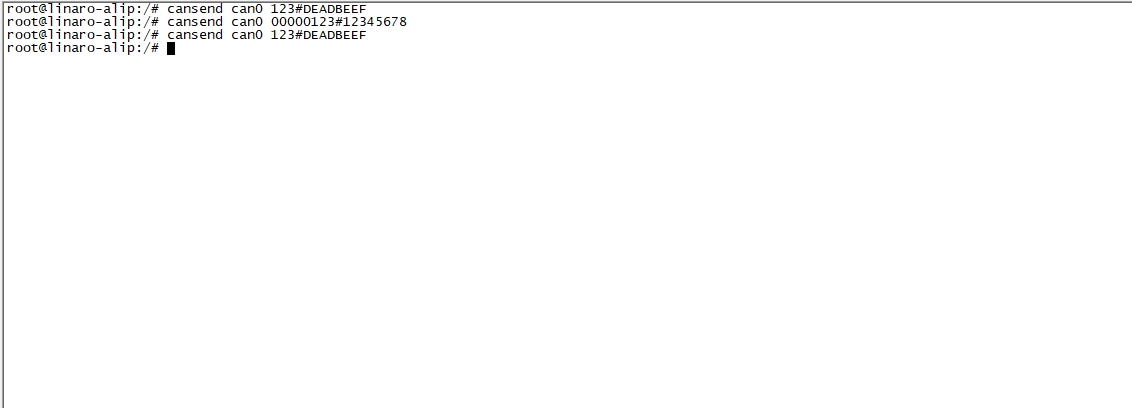
- 板端发送
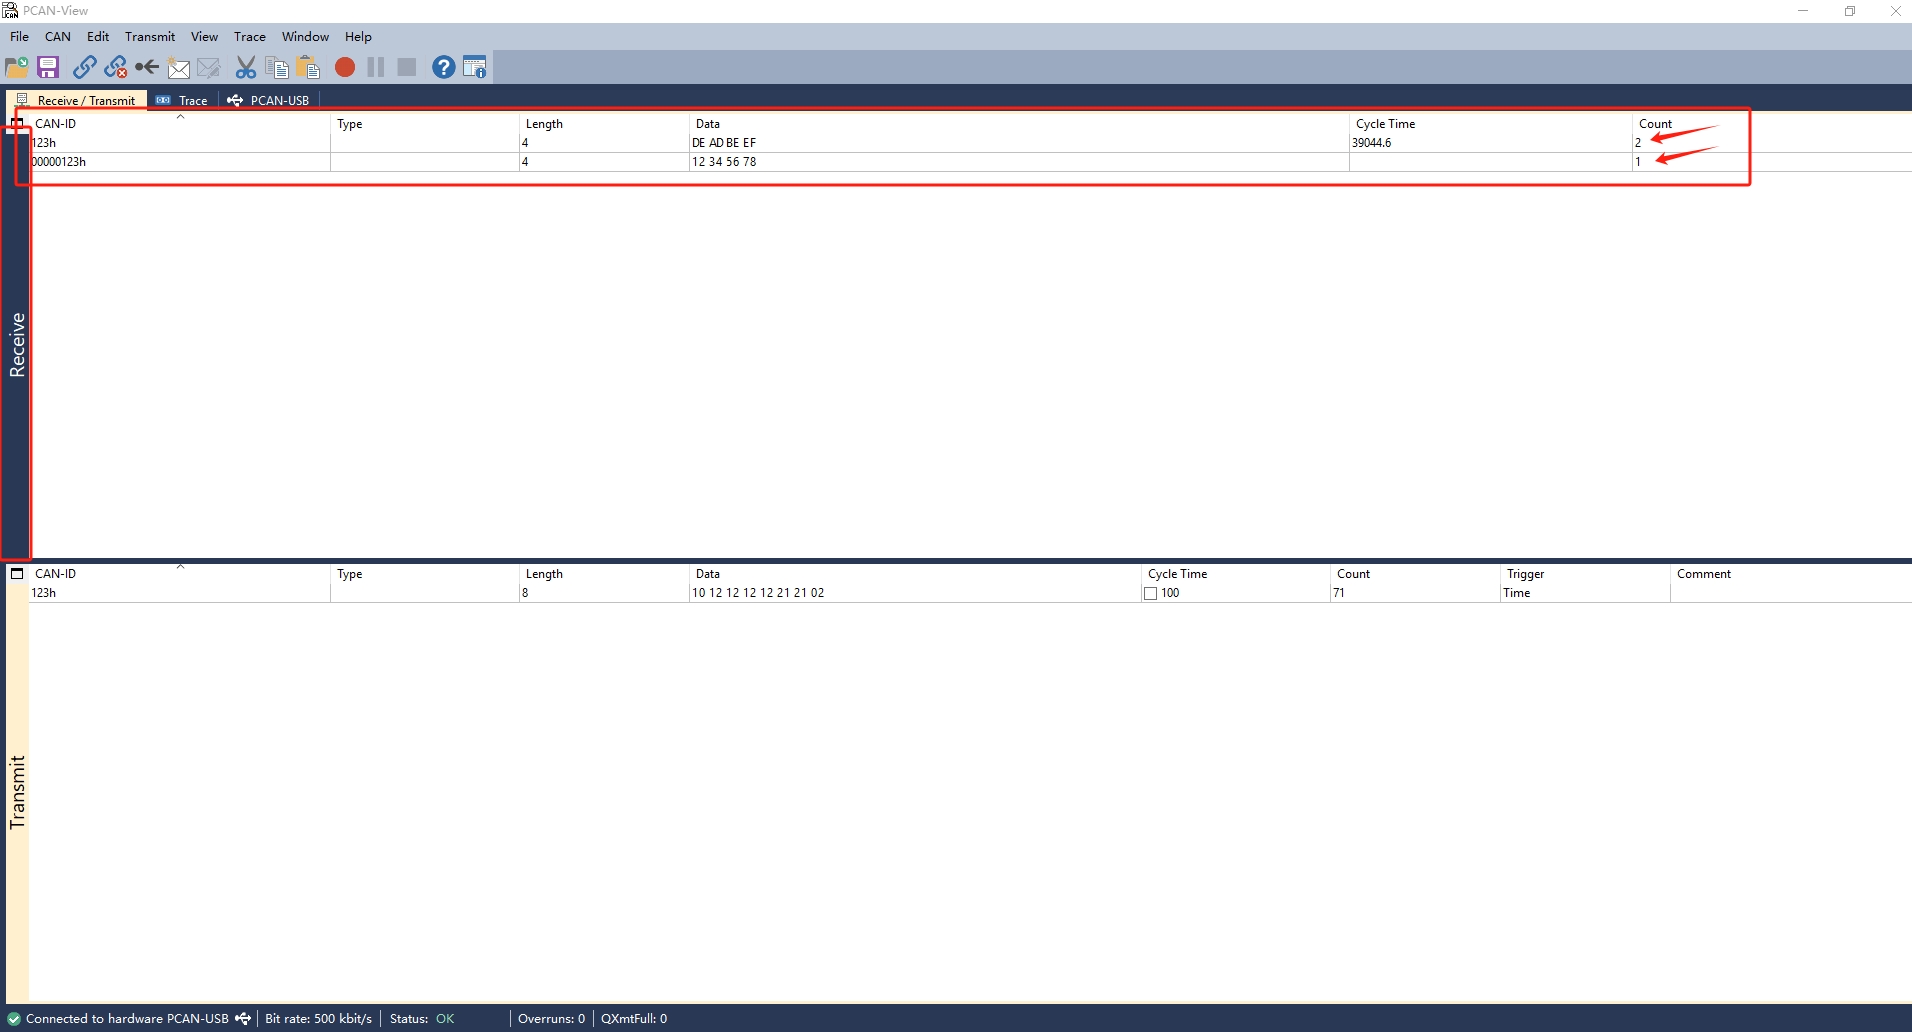
# 发送 标准帧,数据帧
$ cansend can0 123#DEADBEEF
# 发送 标准帧,远程帧 (演示模块不支持远程帧,这里不做演示)
$ cansend can0 123#R
# 发送 扩展帧,数据帧
$ cansend can0 00000123#12345678
# 发送 扩展帧,远程帧
$ cansend can0 00000123#R
2. PC端接收